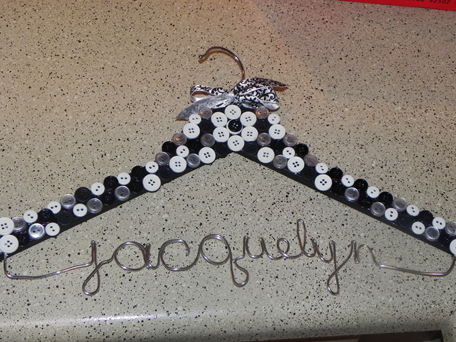
Personalized Bridal Party Hangers
As part of my bridal party gifts, I wanted to make customized hangers in our wedding colors for my attendants, the mothers, and our flower girl. All of my photos will be attached at the bottom on the page! Each girl got a different hanger to represent her unique personality.
Materials Needed:
- Wooden hangers. I found mine at Walmart for $3.99/5pack
- Roll of 14 gauge floral wire
- Wire cutters
- Needle Nose Pliers
- C or D battery (or anything round that is about this size)
- Ribbon
- Buttons
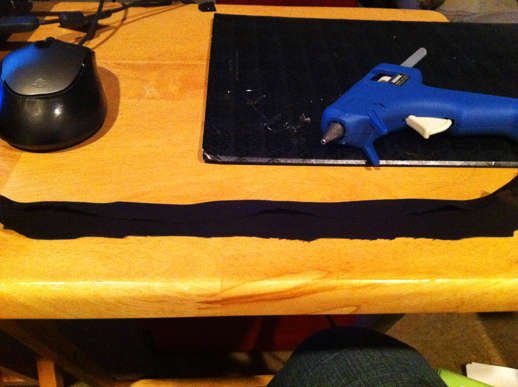
- Hot glue gun
- Hot glue sticks
- Fabric in any material that folds easily (NOT chiffon or silk). I used a simple cotton fabric from Michael's
Making the Rosettes
If you are better with videos, you can watch very similar instructions here.
Now, don't worry if it takes you a few tries, and don't be surprised if your ruin a few. It takes approximately 45 rosettes to fill the front edge of a standard wooden hanger.
- You want to cut your fabric into strips that are about 6-8 inches long and 1.5 inches wide. You don't have to be precise at all. Basically, I did it by cutting 18 inches of fabric off my bolt, then cut it in half where it was folded over on itself, then cut each of those pieces in half, so then I had four 18 inch wide by about 8 inches tall pieces. Then I cut each piece into twelve 1.5 inch wide x 8 inch tall strips.
- Hold the strip like this in your left hand. Fold the strip into thirds by folding the right side over and then the left side over the right side.
- Fold the top down about 1/4 of an inch and put a dab of hot glue on the fold.
- Fold the glued edge over on itself to make the center of your rose.
- Hold the folded edge in your right hand and the unfolded side in your left hand. Try to have the entire length folded over in thirds, but it really doesn't matter.
- Twist your left side over until the entire length is twisted like this, but don't twist too tight!!
- Hold the bottom of the folded side with your right thumb and
index finger, and you're going to wrap the left side counterclockwise
around the folded edge (the center of your rosette). Your goal is to
keep the top the same level. The bottom doesn't matter so much.
- Very carefully hold the unfinished edge to the side of the
rosette and turn it over, so that the rosette is bottom side up between
your left index finger and thumb. You're going to hot glue the bottom
glued edge that you were holding while wrapping. Fold the left edge over the glue, making sure to attach it to the
right folded edge, to secure both ends together. Make sure it's pretty
tight.
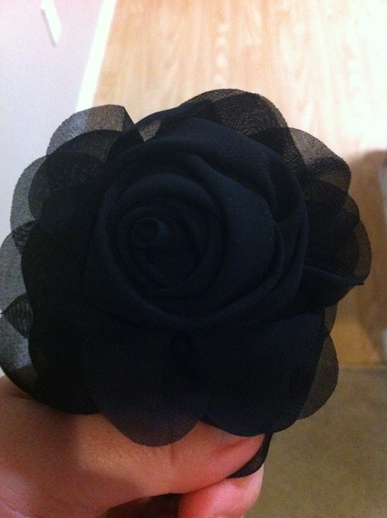
Now, you're going to just keep gluing and folding the unfinished edge over on itself to "flatten" the bottom.
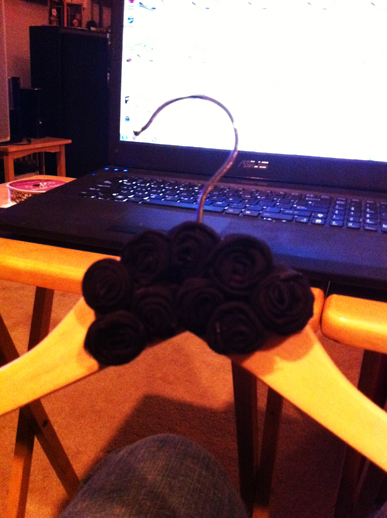
There's a finished rosette!
Now, don't worry if it takes you a few tries, and don't be surprised if your ruin a few. It takes approximately 45 rosettes to fill the front edge of a standard wooden hanger.
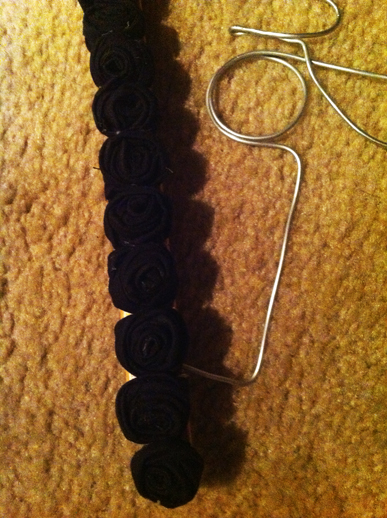
Making the Wire Names
The wire is pretty difficult, and it takes a few times to get it right.
You need about 5-6 feet of wire per hanger or so. I'd leave yourself at
least a foot on the each side to wrap the wire around the wooden hanger.
I can't offer a lot of advice on the wire part, so I'm going to refer
you here.
The one thing I can say is that you should draw out how you're going to
shape the name before you do it so you have a game plan. Check out
lilafrances on Etsy to get an idea of how to shape each letter. Remember
that you're not doing the entire hanger like the instructions I
referred you to, but you will wrap the wire around the dips in the
hanger.